
If you craft at the kitchen table or on the sofa, you don’t need a dedicated studio—just one box that holds everything you need for a session and nothing you don’t. The goal is simple: when inspiration strikes, you can grab the box, open it, and start making without digging. When you’re done, everything goes back in minutes. Here’s how to make that work with paper, pens, thread, scissors, tape, and the small bits that tend to scatter.
Start with a clear zone plan
Before you put anything in the box, decide where each type of supply will live. A single box works best when it’s divided into distinct zones, so you always know where to reach. Think of the box as having three main areas:
- A central “active” zone for the tools and materials you use most: your favorite pen, a small pair of scissors, a roll of tape, and the paper you’re currently working with.
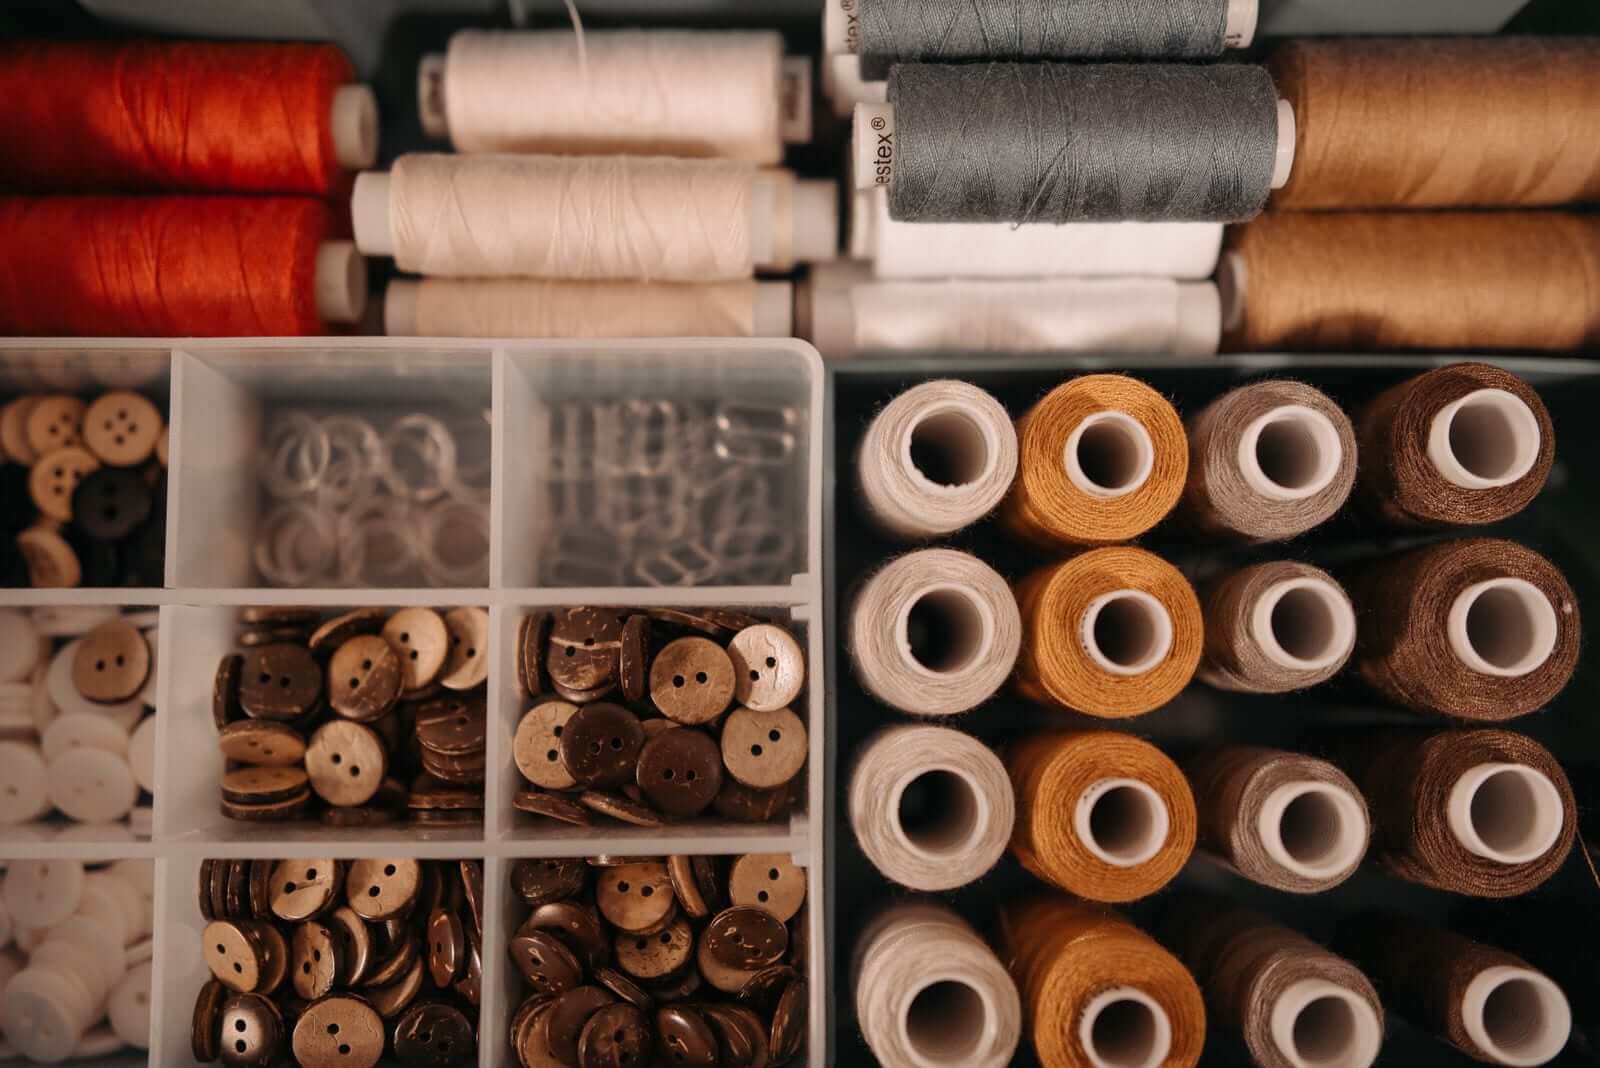
- Side or end pockets for small, loose items that would otherwise roll around: thread spools, bobbins, buttons, paper clips, and extra tape rolls.
- A back or bottom layer for backup supplies: a spare glue stick, a few sheets of specialty paper, an extra pen, and a small amount of thread in other colors.
The exact layout depends on your box’s shape, but the principle is the same: keep the things you touch every few minutes within easy reach, and store the rest out of the way.
Choose what stays and what goes
A single box forces you to be honest about what you actually use. Go through your supplies and ask one question: “Have I used this in the last month?” If not, it doesn’t belong in the box. That doesn’t mean you have to throw it away—store it elsewhere, give it to a friend, or keep a small “refill” bag in a closet. The box should hold only what you need for a typical crafting session.
For paper, keep a small stack of the colors and weights you reach for most. For pens, limit yourself to two or three that work well. For thread, keep one spool of each color you use often, plus a needle or two. Scissors: one small pair is enough. Tape: one roll in the box, one spare if you have room. The rest is backup—and backup should be minimal.
Contain the small stuff
Loose items are the enemy of a tidy box. Thread can unravel, buttons can scatter, and paper clips can end up everywhere. Use small containers to keep them together:
- A small tin or pillbox for buttons and beads.
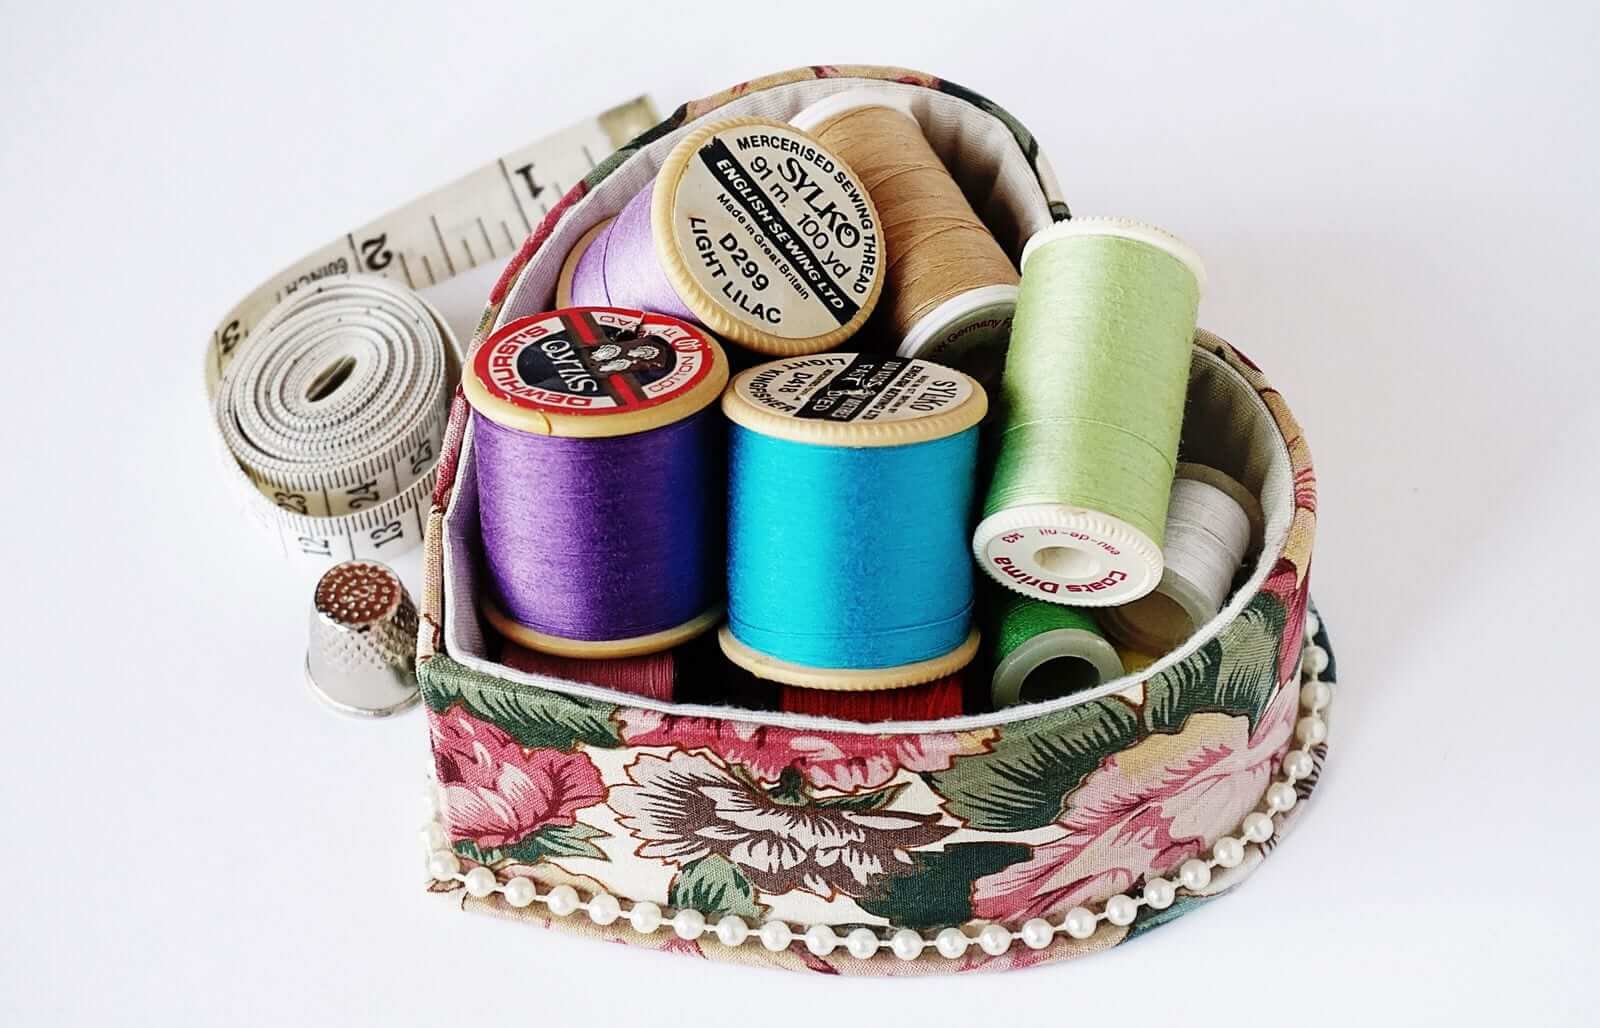
- A resealable bag or a small pouch for thread spools and bobbins.
- A binder clip or a small elastic band around a bundle of paper clips.
- A small plastic container for extra tape rolls.
These containers don’t need to be fancy—they just need to fit inside the box and keep things from mixing. If your box has dividers, use them. If not, small boxes or pouches can create their own compartments.
Make opening and closing easy
A box that’s hard to open or close will discourage you from using it. If your box has a lid that comes completely off, consider attaching it with a hinge or a piece of tape so it stays connected. If it has a latch, make sure it opens smoothly. The goal is to be able to open the box with one hand while holding a piece of paper in the other.
Inside, arrange items so that the most-used things are on top and facing you when you open the lid. If you’re using a deep box, consider a shallow tray on top for active supplies, with backup items underneath. That way, you don’t have to dig to find your pen or scissors.
Create a quick return routine
A box only stays organized if you put things back after each session. The trick is to make returning items as easy as taking them out. Here’s a simple routine:
- When you finish, take a minute to put the cap back on the glue, close the tape, and wind the thread back onto its spool.
- Put small items back into their containers first—buttons in the tin, thread in the pouch.
- Place larger tools and paper back into their zones.
- Close the lid and put the box away.
If you follow this every time, the box will be ready for your next session. The key is not to let things pile up—five minutes of tidying at the end saves twenty minutes of untangling later.
Avoid the slow creep of clutter
The biggest risk to a one-box system is gradual accumulation. A new roll of ribbon, a free pen from a conference, a scrap of paper you might use someday—these things add up. To keep the box from overflowing, set a simple rule: one in, one out. If you bring a new supply into the box, remove something you haven’t used. Also, do a quick monthly check: open the box, take out anything you haven’t touched since the last check, and either store it elsewhere or let it go.
Another habit that helps: keep a small “inbox” for supplies that don’t have a home yet. When you acquire something new, put it in the inbox. At your next crafting session, decide whether it earns a place in the box or should be stored elsewhere. This prevents random items from taking over your carefully planned zones.
Make it work for your space
Your box lives on a shelf, under the sofa, or in a closet—wherever it’s easy to grab. If you craft at the table, keep the box within arm’s reach so you can pull out what you need without getting up. If you craft on the sofa, a box with a handle or a strap is easier to carry. The box itself doesn’t need to be large; a shoebox-sized container or a small plastic tote is often enough for a focused set of supplies.
Remember, the point of one box is not to own less—it’s to make what you own easy to use. With a clear zone plan, a strict edit of your supplies, small containers for loose bits, and a two-minute return routine, you’ll spend less time searching and more time making.