
Watercolor can seem like a mysterious medium—beautiful, fluid, and a little intimidating. But you don’t need a studio full of expensive materials to give it a try. If you’re an adult who’s curious about watercolor and wants to test the waters without a big investment, this guide is for you. We’ll focus on the absolute basics: a minimal supply list, a few simple techniques, and how to handle common frustrations. The goal is to experience the process, not to produce a masterpiece.
The Minimal Supply List
You can start with just a few items. Here’s what you really need:
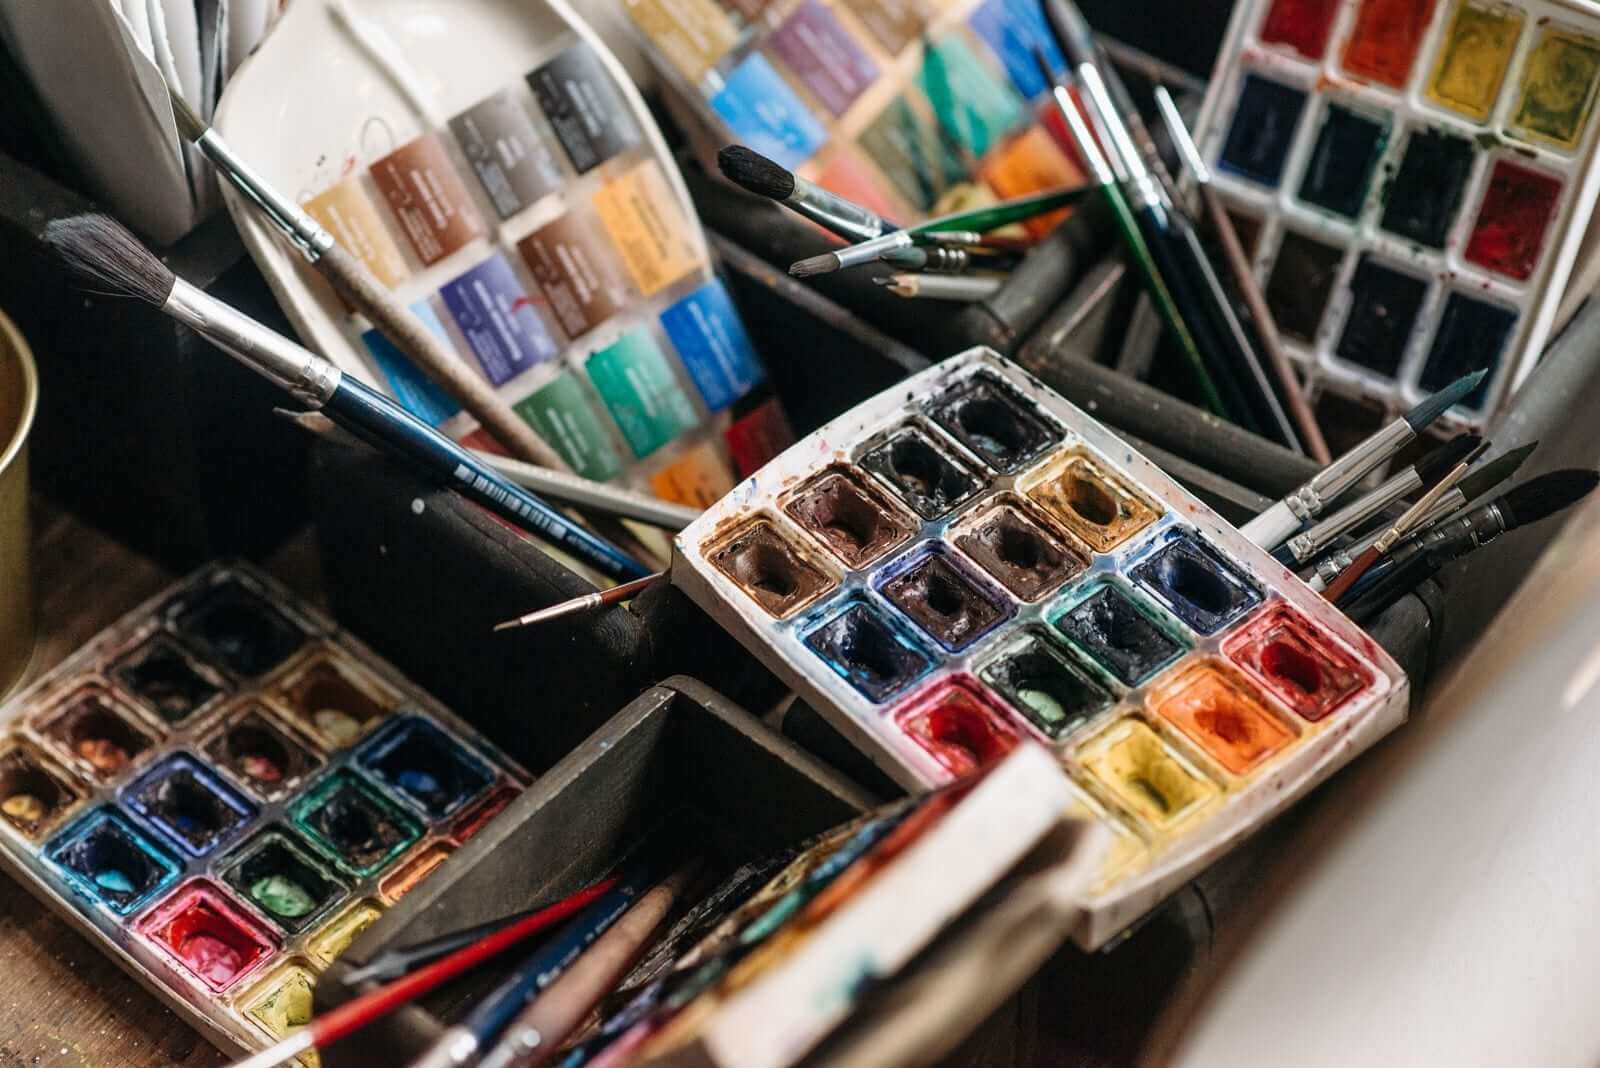
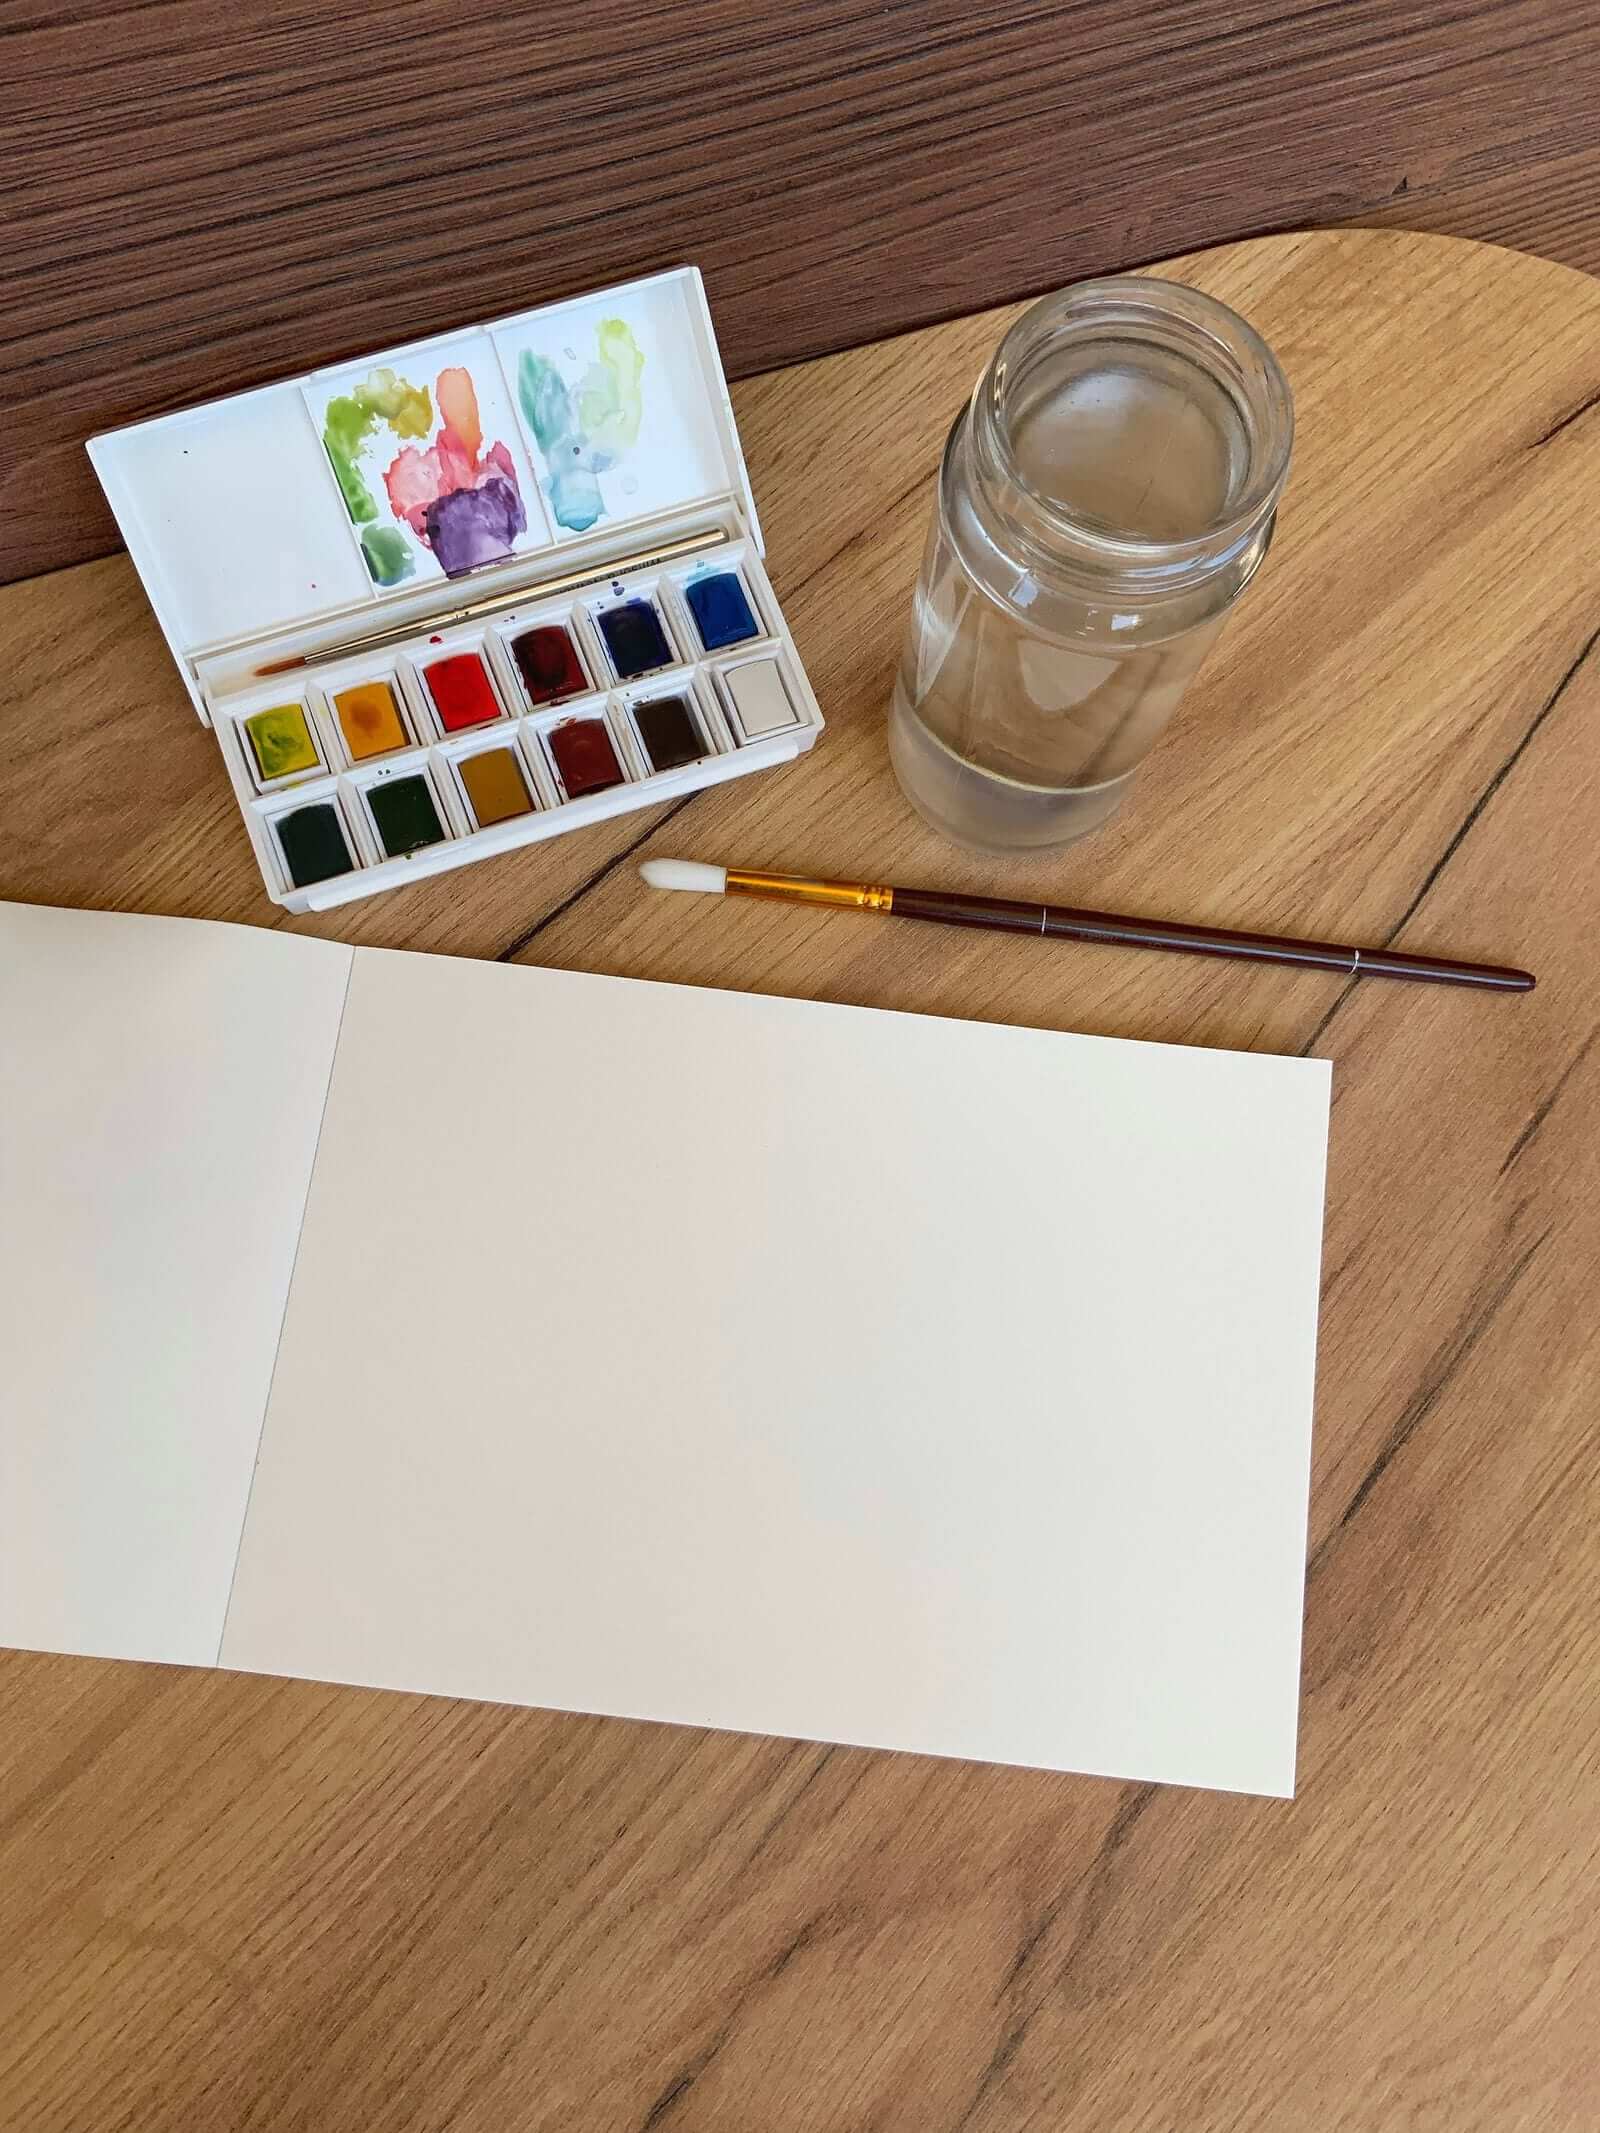
- Paint: A small set of watercolor pans (the solid cakes) is the easiest and most economical way to begin. Look for a set with at least six colors: red, yellow, blue, green, brown, and black. Student-grade is fine for trying out—you can upgrade later if you fall in love with the medium.
- Paper: Watercolor paper is essential. Regular drawing or printer paper will buckle and pill. Look for paper labeled “watercolor paper” with a weight of at least 140 lb (300 gsm). This weight can handle a fair amount of water without warping too much. A pad of cold-press paper (slightly textured) is a good all-purpose choice. Start with a small size, like 9×12 inches, and cut sheets in half if you want to work smaller.
- Brushes: Two brushes are enough: one round brush (size 8 or 10) for most of your painting, and one smaller round brush (size 4 or 6) for details. Synthetic brushes are affordable and work well for beginners.
- Water cup: Any small jar or cup will do. Use one that’s stable and won’t tip over easily.
- Optional but handy: A paper towel or rag for wiping brushes and controlling water, and a palette (a white ceramic plate or a plastic palette with wells) for mixing colors. If your pan set comes with a lid that has mixing areas, that works too.
That’s it. You don’t need masking fluid, special sponges, or fancy easels to get started.
Paper Weight and Buckling
One of the first things you’ll notice is that water makes paper buckle. This is called “cockling.” The thicker the paper, the less it will warp. 140 lb (300 gsm) paper is a good compromise between cost and performance. If you use thinner paper, you can tape it down to a board with painter’s tape before painting to help it dry flat. Even with thicker paper, heavy washes may cause some buckling, but it often flattens as it dries. Don’t let a little warping discourage you—it’s normal and doesn’t ruin the painting.
Controlling Water
Water is the heart of watercolor. Too little water and your paint won’t flow; too much and you’ll get puddles and blooms. The key is to practice. Load your brush with water, then touch it to the paint pan to pick up color. You can adjust the consistency on your palette or directly on the paper. A good rule of thumb: your brush should be damp, not dripping, for most washes. For a light wash, use more water; for intense color, use less. Experiment on a scrap piece of paper to see how the paint behaves.
Basic Exercises: Flat Wash and Gradient
Before you paint a picture, try these two simple exercises to get a feel for the medium.
Flat wash: This is a uniform layer of color. Wet your brush with water and pick up some paint. Mix it on your palette so it’s an even consistency. Then, with your paper flat, apply a horizontal stroke across the top of the area you want to cover. Without rinsing your brush, reload it with the same color and make another stroke just below the first, overlapping slightly. Continue down the page. Try to work quickly so the edges stay wet and blend. If you’re too slow, you’ll get hard lines between strokes—which can be a nice effect, but not a flat wash. Practice until you can cover an area evenly.
Gradient (graduated wash): This is a wash that goes from dark to light (or vice versa). Start with a strong mix of paint and water. Paint a stroke across the top. Then dip your brush in water and add a little to the mix, making it lighter. Paint the next stroke below, overlapping the first. Continue adding water and painting downward, so the color gradually fades. You can also do this by painting a wash and then adding clean water at the bottom to dilute the color. This exercise teaches you how to control the ratio of water to paint.
Mixing Colors
With a basic set, you can mix a wide range of colors. The three primary colors—red, yellow, and blue—are the foundation. Mix red and yellow to get orange, yellow and blue for green, and red and blue for purple. To make colors less intense, add a little water or a touch of complementary color (the color opposite on the color wheel). For example, a tiny bit of red added to green will mute it. Practice mixing on your palette before applying to paper. Keep a scrap sheet handy to test the color. Remember that watercolor dries lighter than it looks when wet, so test a stroke and let it dry to see the true color.
Preserving White Space
In watercolor, you don’t paint white—you leave the paper bare. This is called “reserving white” or “leaving white space.” Plan ahead: decide which areas should stay white (like highlights or clouds) and paint around them. You can use a light pencil sketch as a guide, but keep it faint. If you accidentally paint over a white area, you can lift some color with a damp brush and blot with a paper towel, but it’s easier to avoid. Practice by painting a simple shape and leaving a white stripe through it.
Common Frustrations and Fixes
Too much water: If your paint pools and creates cauliflower-like blooms, you’ve used too much water. Blot the excess with a dry brush or paper towel. To avoid this, make sure your brush is not dripping when you apply paint, and work on dry paper or damp paper, not soaking wet, unless you’re intentionally doing a wet-in-wet technique.
Colors turning gray or muddy: This happens when you mix too many colors together or overwork the paint on the paper. Stick to two or three colors in a mix, and avoid scrubbing the paper with your brush. If a color looks dull, try mixing a fresh batch with cleaner water and fewer pigments.
Hard edges where you don’t want them: If you’re painting a wash and stop, the edge will dry with a hard line. To avoid this, keep the edge wet by adding more paint or water, or work in smaller sections and blend the edges while wet. If you get an unwanted hard edge, you can soften it with a clean, damp brush.
Cleaning Up and Storing Supplies
Watercolor is easy to clean up. Rinse your brushes thoroughly with water and reshape the bristles. Don’t leave them standing in water, as that can damage the ferrule and bristles. Wipe the paint pans if they’re dirty; a damp tissue works fine. Let everything dry completely before closing your palette or storing. Keep your paper flat and dry to prevent warping. If you have a pad, store it closed. Your brushes can be kept in a cup or rolled in a mat. With minimal care, your supplies will last a long time.
Final Thoughts
Trying watercolor is about exploration. Don’t worry about making a “good” painting—focus on how the paint moves, how colors blend, and how water changes everything. Give yourself permission to play. With just a few supplies and a little curiosity, you can discover the joy of watercolor without pressure or expense.