
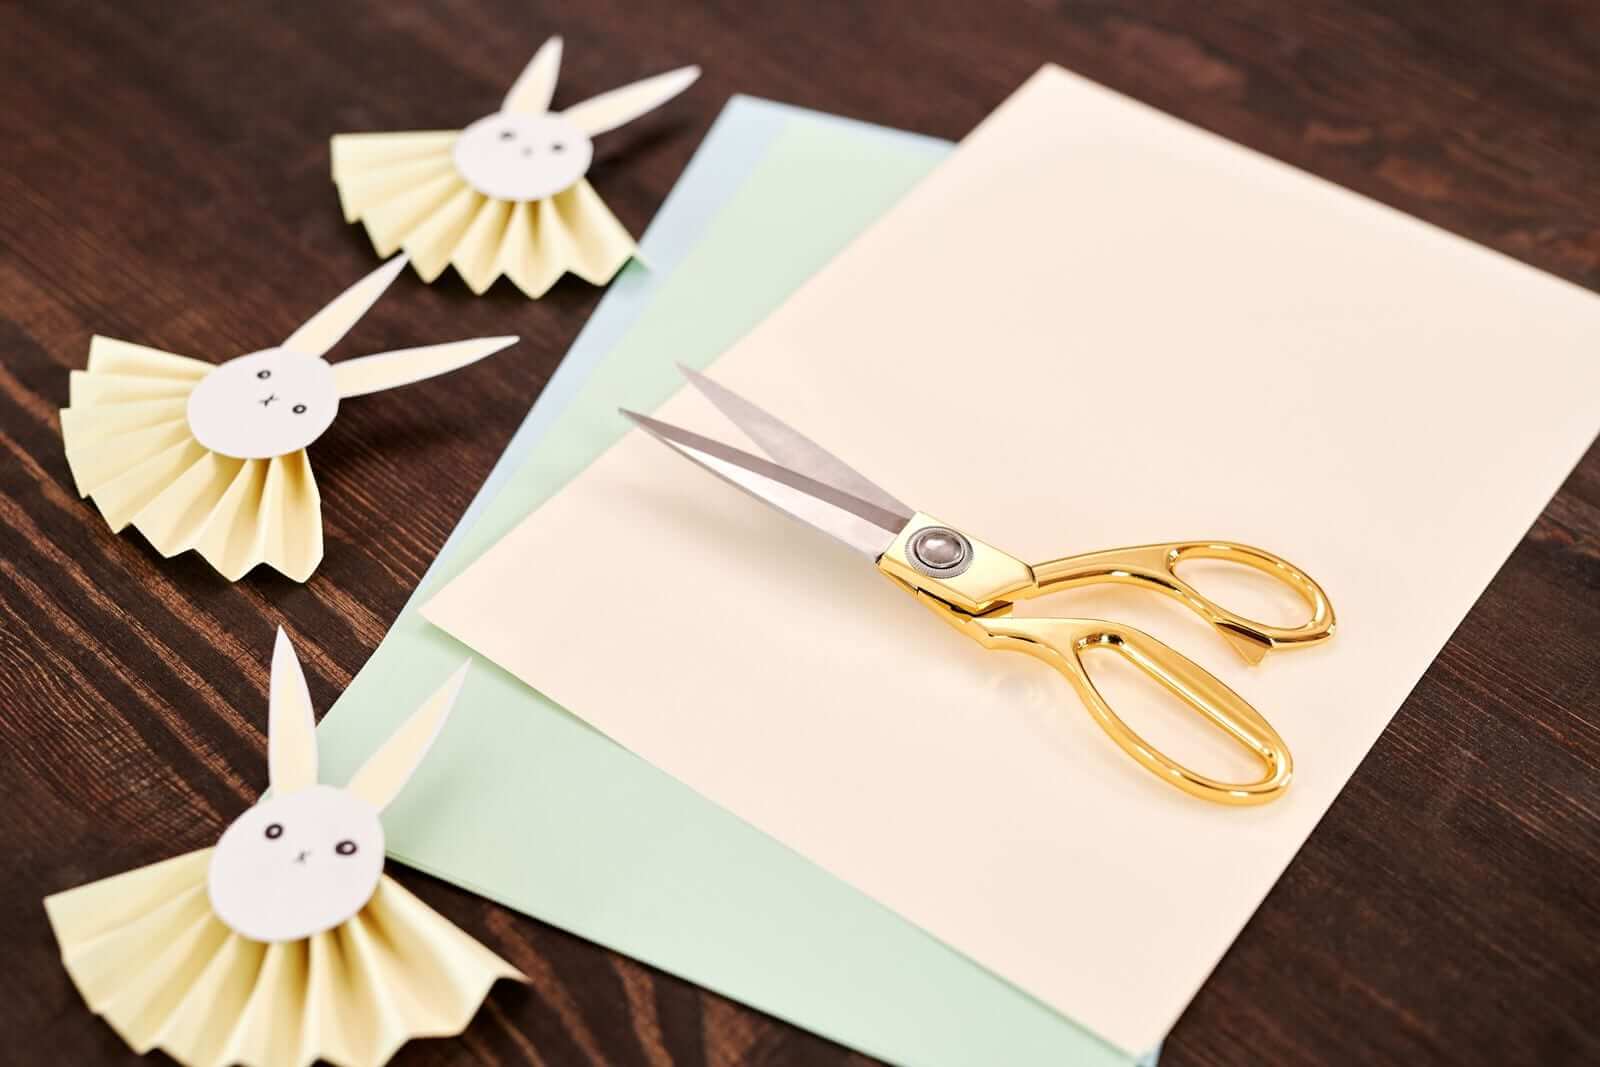
A free weekend at home doesn't need a shopping trip to become a crafty one. If you have paper, scissors, glue, and a few things already rattling around your kitchen drawer, you have enough for an afternoon of making. The projects below are deliberately simple: no specialty tools, no trips to the craft store, and no leftover supplies you'll never touch again. Pick one, gather what it needs, and start cutting.
Before You Start: A Quick Supply Check
Most of these projects run on the same short list. Pull these out first and you'll rarely need to stop mid-project:
- Paper — printer paper, colored construction paper, old magazines, newspaper, junk mail, paper bags, or wrapping paper scraps
- Scissors — regular household scissors are fine; kid-safe scissors for children
- Glue — a glue stick for paper-on-paper, white liquid glue for anything that needs to hold a shape
- Tape — clear tape and masking tape cover most emergencies
- A pencil and a ruler — for measuring and folding straight lines
- A flat work surface — the kitchen table covered with newspaper or a cut-open paper bag
That's it. Everything else is optional and listed per project.
Project 1: A Handmade Card
What you need: one sheet of card stock or folded printer paper, scraps of colored paper, glue stick, scissors, pencil.
Steps:
- Fold a sheet of paper in half, then in half again if you want a smaller card. Press the fold firmly with your thumbnail or the back of a spoon.
- Decide on a simple design — a shape cut from colored paper, a few strips layered as a border, or a word cut out in block letters. Sketch it lightly in pencil first if you're unsure.
- Cut the pieces. For letters, draw them large and simple; block capitals are far easier to cut than cursive.
- Arrange everything on the card before gluing. Move pieces around until the layout looks right.
- Glue down the largest pieces first, then layer smaller ones on top. Let it dry flat for a few minutes.
Make it with kids: Skip the pencil sketching and let them cut freehand shapes — hearts, circles, squiggles. Pre-cut a few strips and shapes for younger children, and swap liquid glue for a glue stick to avoid puddles.
Project 2: A Folded Paper Box
What you need: two square sheets of paper the same size (any paper works; sturdier paper makes a sturdier box), scissors optional, ruler.
Steps:
- Start with a square. If your paper is rectangular, fold one corner down to the opposite edge, trim the extra strip with scissors, and unfold — now you have a square.
- Fold the square in half both ways and diagonally both ways, then unfold. You should see eight crease lines crossing in the middle.
- Fold each corner in to meet the center point, creating a smaller square.
- Fold the top and bottom edges in to meet the center line, then unfold.
- Open the left and right flaps, and use the creases to push the sides up into a box shape, folding the excess paper over the rim to lock it.
- Repeat the whole process with the second sheet, but make the starting square about half a centimeter smaller on each side so the lid fits over the base.
Make it with kids: The folding steps are the fun part; the final "pop up the sides" step is fiddly, so offer to do that part. Let them decorate the flat paper with crayons before folding.
Project 3: Paper-Cut Decorations
What you need: paper (printer paper is fine, thin paper is easier to cut), scissors, pencil, tape or thread for hanging.
Steps:
- Fold a sheet of paper in half, then in half again, and once more — you want a narrow folded wedge.
- Draw a simple half-shape along the folded edge: half a heart, half a leaf, half a snowflake arm. Keep the design connected to the folded edge, or the piece will fall apart when you open it.
- Cut along your drawn line, plus a few small notches along the outer edge for texture.
- Unfold slowly and press the paper flat.
- Tape the decoration to a window, or thread a piece of string through a small hole and hang it.
Make it with kids: Draw the outline for them and let them do the cutting, or let them draw and you cut. Folded paper is thick — remind them to open the scissors wide rather than forcing through.
Project 4: A Simple Paper Lantern
What you need: one sheet of paper (A4 or letter size), scissors, glue stick or tape, a ruler, pencil, and a strip of paper for a handle.
Steps:
- Fold the paper in half lengthwise, short edge to short edge.
- Starting from the folded edge, draw lines about two centimeters apart, stopping about two centimeters short of the open edge. A ruler makes this quick.
- Cut along each line through the folded edge, stopping at your marked line. Don't cut all the way through.
- Unfold the paper. It should now have a row of slits down the middle.
- Roll the paper into a tube so the two short edges overlap, and glue or tape the seam.
- Press gently from the top and bottom so the slits bow outward into a lantern shape.
- Glue a strip of paper across the top as a handle.
Make it with kids: Draw the cutting lines in advance and let them cut. Younger children can decorate the flat sheet first, then you handle the rolling and gluing. A battery-powered tea light placed inside (never a real candle) makes a safe finishing touch.
Project 5: A Scrap Collage
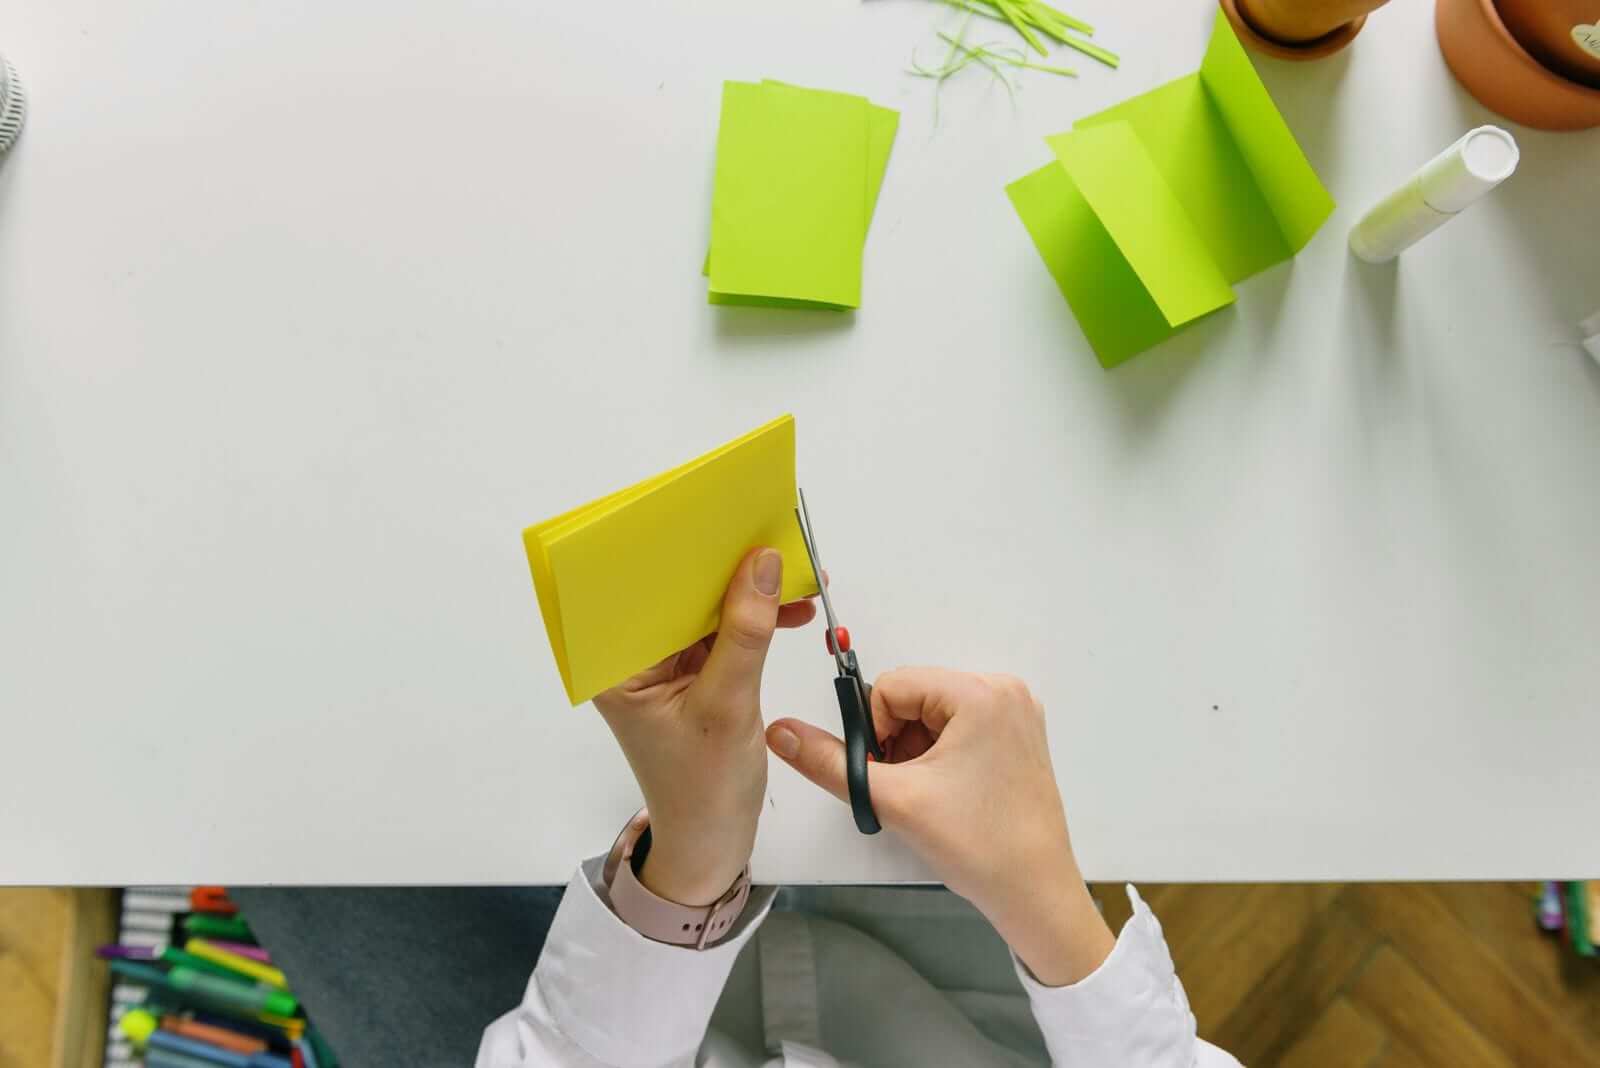
What you need: a base sheet of paper or cardboard, a pile of paper scraps (magazine pages, junk mail, colored paper, wrapping paper), glue stick, scissors.
Steps:
- Sort your scraps loosely by color or by size — this makes choosing pieces much faster.
- Decide on a loose theme: a landscape, an animal, a single big shape, or pure color blocks. A theme keeps the collage from turning into clutter.
- Tear some pieces instead of cutting them; torn edges add texture and are faster than cutting.
- Lay pieces on the base without gluing until the whole picture is covered to your liking.
- Glue from the background forward — large background pieces first, small details last.
- Press the finished collage under a heavy book for a few minutes to flatten any curled edges.
Make it with kids: This is the most kid-friendly project on the list. Give each child their own base sheet and scrap pile to avoid turf wars, and let them tear rather than cut if scissors are still tricky.
Adapting Any Project for Kids
A few adjustments make all five projects workable for children without turning the afternoon into a supervision marathon:
- Pre-cut the hard parts. Folded paper, tight curves, and small details are the frustrating bits. Do those yourself and hand over the rest.
- Use glue sticks, not liquid glue. Less mess, faster drying, and no ruined projects from a single enthusiastic squeeze.
- Work at their height. A low table or the floor with a newspaper layer underneath keeps things comfortable and contains the mess.
- Set a stopping point. One project per session is plenty. A half-finished lantern can wait until next weekend.
Cleaning Up and Storing What's Left
The mess is half the craft. A five-minute cleanup routine keeps the table usable and the supplies findable:
- Sort scraps into two piles: pieces big enough to use again, and true trash. Be honest — tiny slivers rarely get used.
- Keep one envelope or shoebox for usable scraps. Flat storage prevents curling and makes the next project faster to start.
- Close the glue and wipe the cap. A glue stick left open dries out; a wiped cap saves the next session.
- Shake out the newspaper layer and fold it away rather than wiping the table.
- Store scissors and glue together in one small container so setup next time takes seconds, not a drawer search.
How to Avoid Buying a Pile of Unused Supplies
The trap with crafts is the aspirational purchase: the special paper, the fancy punch, the kit that looks wonderful in the store and stays sealed at home. A few habits prevent that:
- Finish one project before buying anything for the next. If the paper, scissors, and glue you already own got you through five projects, you don't need more.
- Shop your own recycling first. Junk mail, paper bags, and old magazines cover most paper needs. Check the recycling bin before the store.
- Buy only consumables you actually run out of. Glue and tape get used up; a shaped hole punch usually doesn't.
- Give a new supply a one-project trial. If a project genuinely needs something you don't have, borrow it or substitute rather than buying a full pack.
- Set a rule for craft-store visits: nothing comes home unless a specific project on your list needs it this weekend.
Pick One and Start
You don't need a plan for all five projects. Choose the one that matches your mood and your paper supply — a card if you have someone to send it to, a box if you need somewhere to put the scraps, a lantern if you want something to look at. The point isn't a perfect result; it's an afternoon spent making something with what's already in the house. When you're done, sort the scraps, close the glue, and leave the table ready for next weekend.